hexo+github自动化部署个人博客
背景
python+django的博客放到一个便宜vps上,结果突然整个vps说没就没了,多年的总结的经验文档说没就没,心中一万个mmp,奉劝大家千万别买便宜的,资历不明的vps服务商,血的教训…
后来搜到了这个hexo前端框架,试了一下还挺好玩的,完全满足我写blog的需求,还能用github作为网站,意味着免费,还能用github action实现CI,听上去是不错,但是还是有不少坑,所以还是写个doc记录下吧:)
简述
hexo是一个前端框架,由一个台湾作者开发,所以中文支持啥的完全没问题,通过使用社区写好的各种模板,简单配置再简单几条命令,就能生成需要的静态文件,直接放到github上使用github page就能访问.这就是我对这个框架的理解,更多就自己看看官方吧.hexo官方网站
ps: 模板也在上面找
github配置
创建一个public repo用于网站展示
repo名字要固定格式: ${github username}.github.io
创建一个private repo用于存放hexo源码
创建secret token
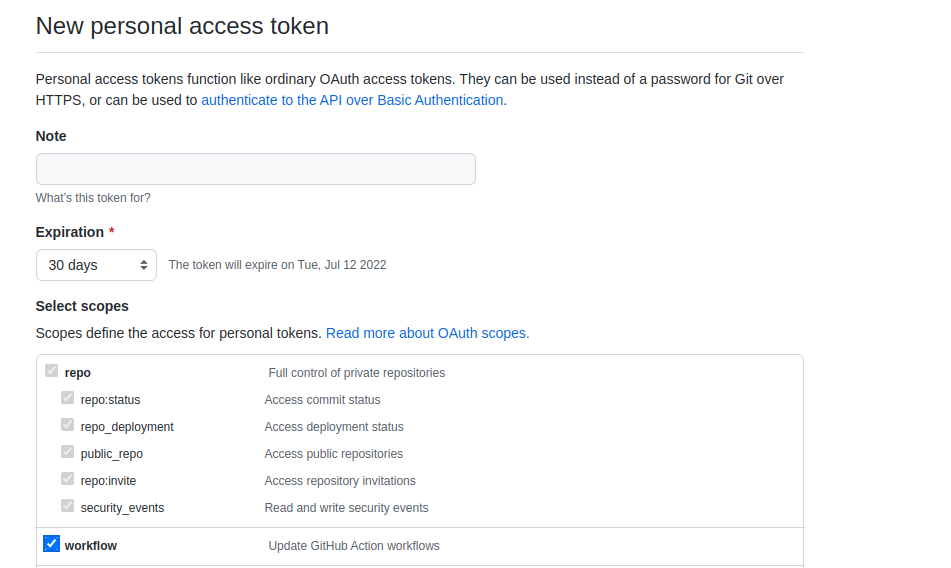
听说是某个情人节之后,github就要求不能用账号密码登陆,只能用token.
不愧是全球最大同性交友网站token只显示一次,先记录下来,后面会用到,权限需要repo和workflow就行了
创建ssh-key用于免密连接git
1
2
3
4
5
git config --global user.name "你的GitHub用户名"
git config --global user.email "你的GitHub注册邮箱"
ssh-keygen -t rsa -C "你的GitHub注册邮箱"
# 复制公钥
cat ~/.ssh/id_rsa.pub到github setting keys,新建new SSH Key,粘贴上去,标题随意

BLOG部署
安装nodejs和hexo
1
2
apt install nodejs
npm install hexo-cliclone刚创建的private repo到本地
记得要用ssh来clone
1
git clone ssh://github.com/xxx/xxxhexo初始化
这就是hexo的工作目录也是blog的源码目录
1
2
cd xxx
hexo init安装配置主题
跟着官方文档安装配置即可,但还是有坑需要记录以下
- 主题安装最好不要用npm install的方式,这种方式的主题会安装在hexo工作目录的node_module底下,但是默认的.gitignore会ignore掉这个文件夹,主题的配置文件也在这个路径下,这个文件可能需要修改更新,所以最好直接用把release包下载到themes下这种方式即可
本地测试
1
2
3
4
5
6
7
# 在工作目录下执行
# 清理无用数据
hexo clean
# 生成静态文件(/public)
hexo g
# 启动测试服务器,默认端口4000
hexo s浏览器访问本地4000端口即可验证效果
部署git depoly
在hexo工作目录下的_config.yml添加如下配置
1
2
3
4
5
6
7
# Deployment
## Docs: https://hexo.io/docs/one-command-deployment
deploy:
type: 'git'
# 这里写入之前申请的token以及之前申请的public repo,格式如下
repo: 'https://${github personal token}@github.com/xxx/xxx.github.io.git'
branch: main测试是否可以部署
1
hexo d部署成功可以在github的public repo上看到生成的静态文件,此时访问https://${your github name}.github.io就能访问你的blog
同步到private repo
这一步不太明确,主要因为对git不够熟悉,我自己搞了很久搞来搞去才搞好,就是将本地仓库同步到远端private repo,仅作参考
1
2
3
4
git add remote ogigin ssh://github.com/xxx/xxx.git
git add .
git commit -m "xxx"
git push配置自定义域名
在hexo工作目录下新建source/CNAME文件并写入你的自定义域名然后hexo -d发布到public repo即可
1
xxx.com配置完成可以在repo的settings中看到
github actions实现CI
配置token
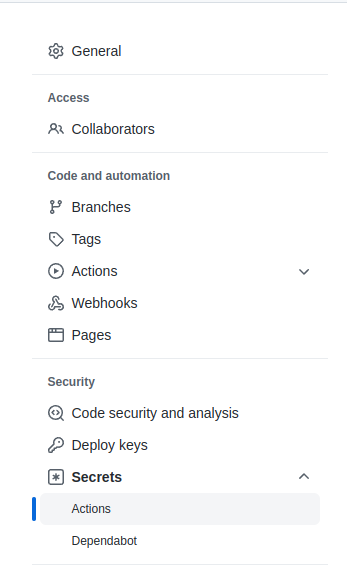
private repo需要有权限部署public repo需要在pricate repo settings中部署secret
settings–>Secrets–>Actions–>new repository secret
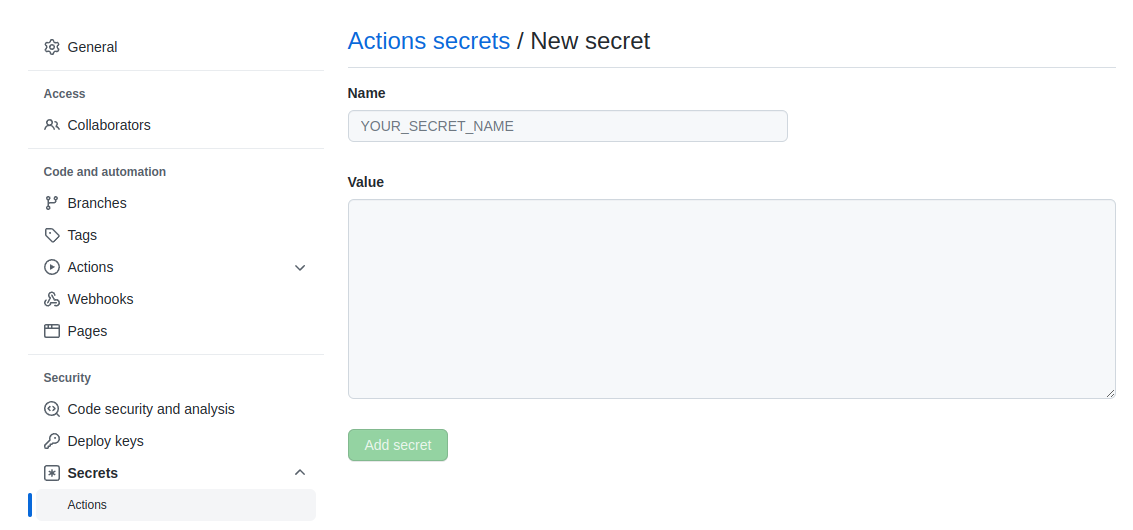
名字自定,将上面生成的token粘贴到Value上然后点击”Add secret”
写CI YAML
在hexo工作目录新建如下文件
./.github/workflow/CI.yml
文件名可以自定义,写入如下内容
1 | |
它的原理就是github检测到这个yaml文件,就会跑一个工作流,启动一个镜像,在镜像内你自定义操作实现部署
更多可以参考官方文档
windows本地部署
hexo
首先安装nodeJs,官网下载安装包不停下一步即可,安装完重启一下让环境变量生效.
1 | |
picgo
我在本地使用的是typora+picgo写文章和上传图片,图床直接使用github.在typora中可以下载安装picgo命令行,点击配置,打开配置文件,配置文件示例如下:
1 | |